Category: Activities

Shape and Form in Sculpture

The last lesson plan that was posted dealt with repetition and shape in sculpture. We will continue on the theme of sculpture in thinking about shape and form.

We began an Exploring Artism session last fall by talking about shapes and forms, negative, and positive space. We also used Nancy Elizabeth Wallace and Linda Friedlaender’s book called Look! Look! Look! at Sculpture that helps us think about creating and understanding sculpture.

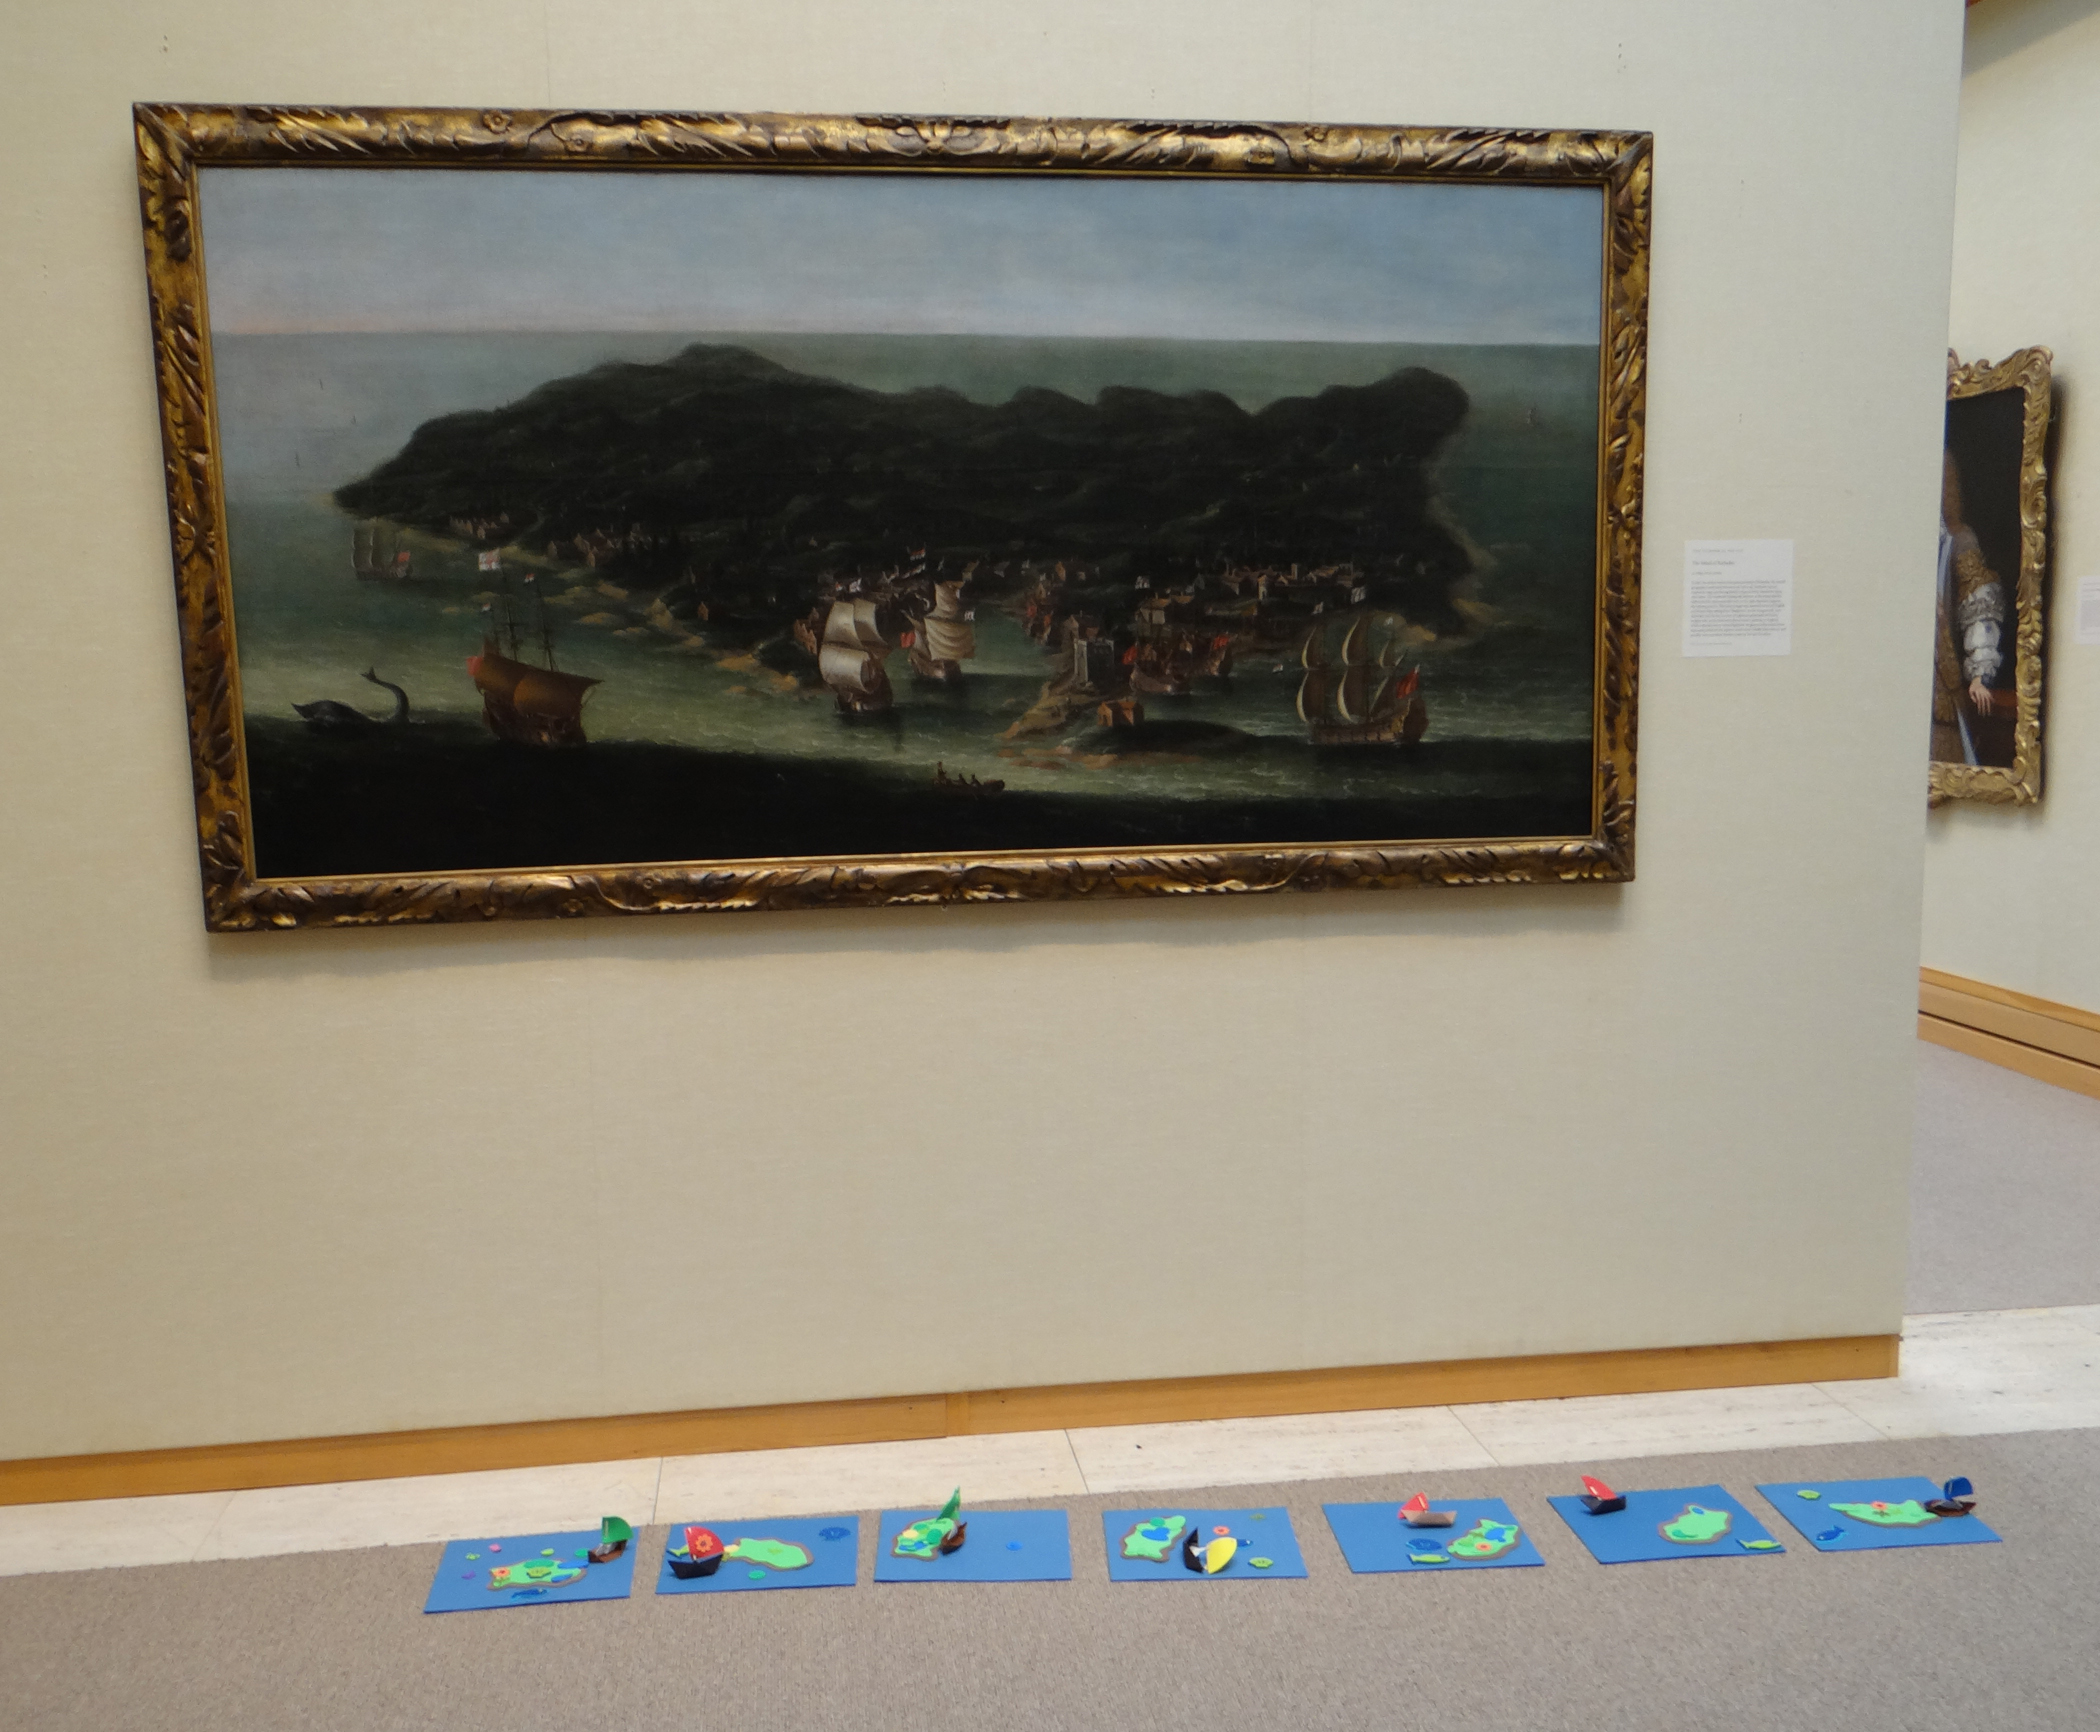
In the galleries, we took a look at Barbara Hepworth’s sculpture Four Rectangles with Four Oblique Circles, found here. Sitting in front of the sculpture, Linda read an excerpt from her book in which the characters LOOK! at the same sculpture and make observations:

“Two shapes are short and tall,” said Kat.

“It’s bigger than we are!” said Kiki.

“It’s made of slate. It must be very heavy,” said Alexander.
“And I see spaces between the shapes!” said Alexander.

Kat said, “I see spaces in the shapes!”

Kiki said, “I see four smooth, shiny, crescent-moon shapes!”

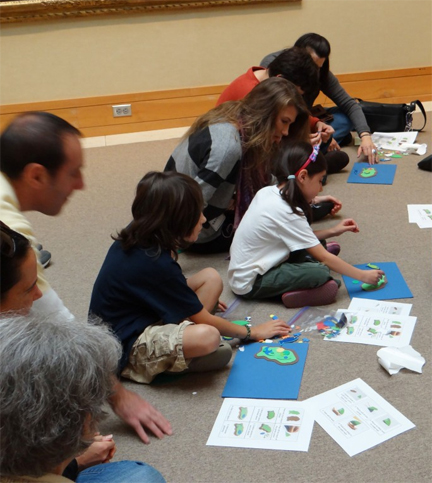
Exploring Artism participants were asked to offer up their observations as well. We asked questions like: Do you know what type of art this is? Why? What shapes do we see? What forms? How do they look together? Apart? Who decided to put things together? Why do you think the artist made these decisions? Then we looked at positive and negative space: is there positive space or negative space in this sculpture?

Next, participants observed another sculpture by Hepworth titled Biolith, which you can view here. Participants were asked to walk around the sculpture and observe. With this sculpture, we were able to point out that sculpture can be viewed from all sides. Participants were asked: Where is somewhere we can look at it from? What shapes do we see? What forms? How do they look together? Apart? Who decided to put things together? Can you tell what this is made of? What materials did the artist use? Is there positive space? What about negative space? After we were done discussing the sculpture, we left the galleries and began to make our own artworks!

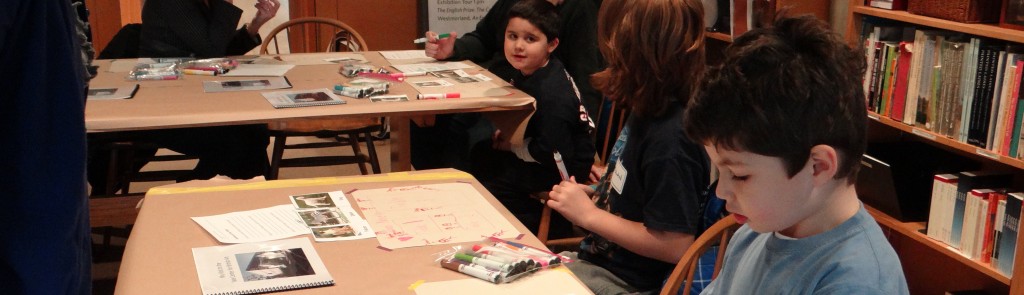
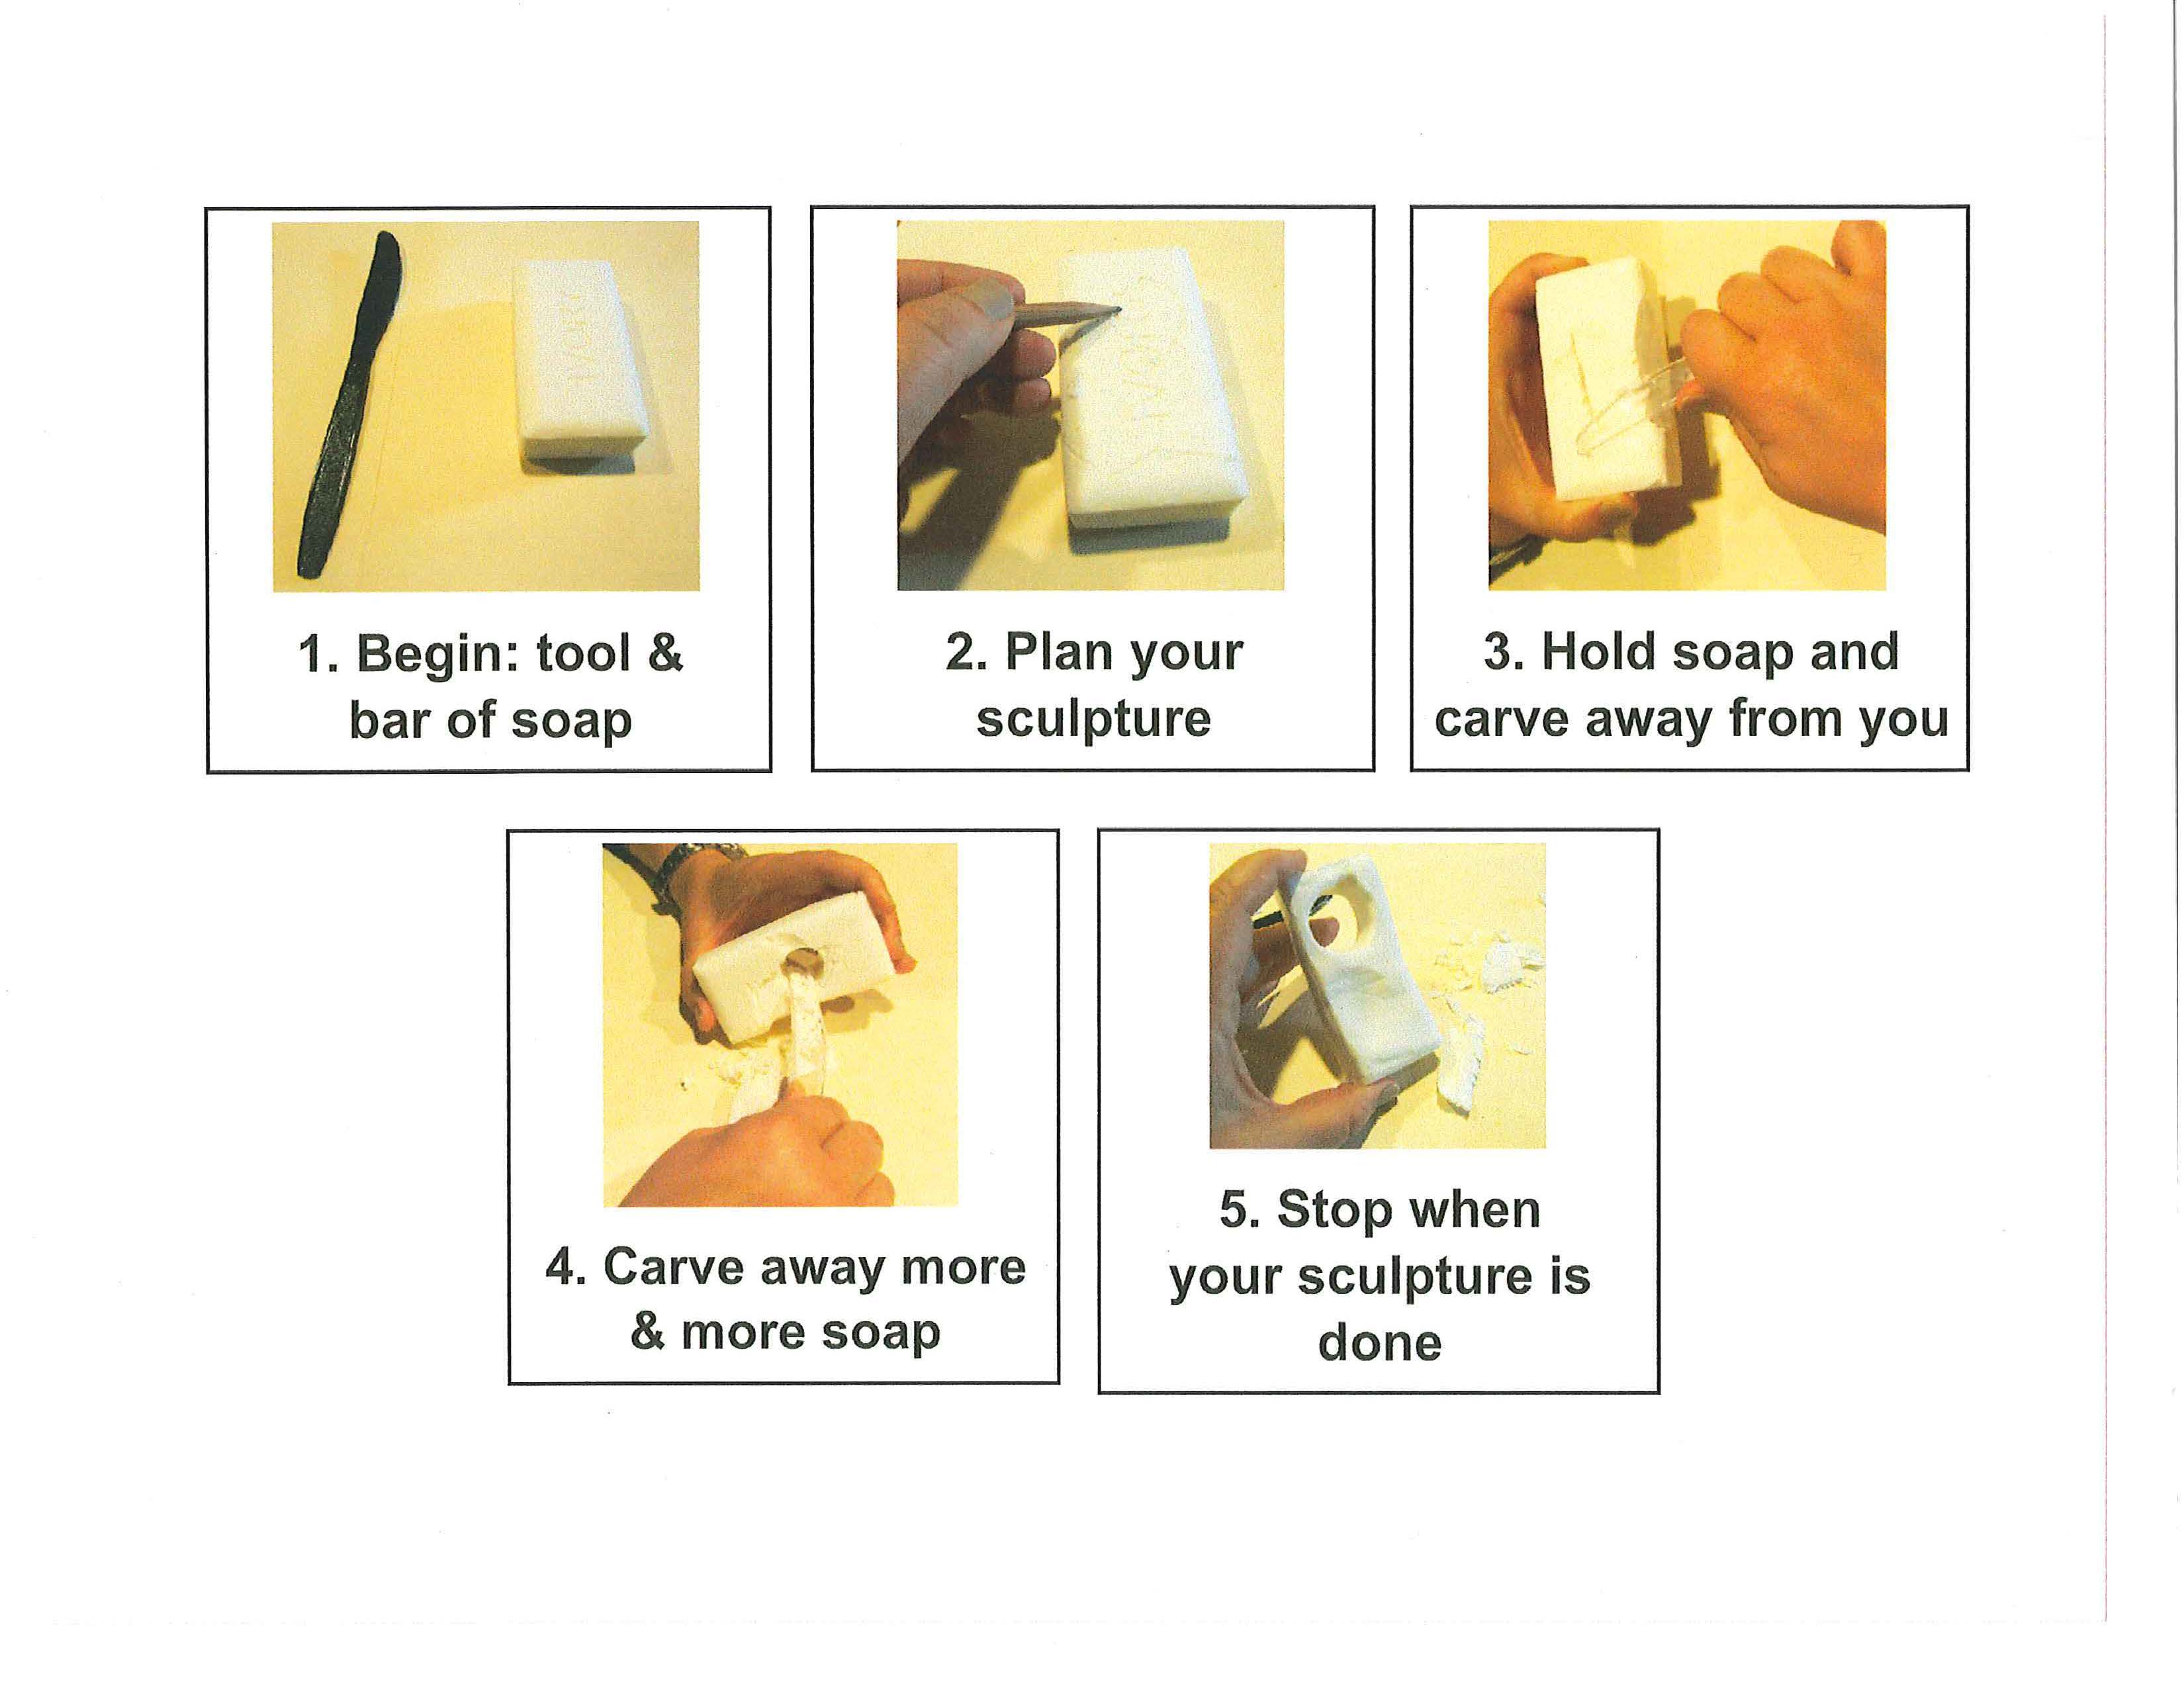
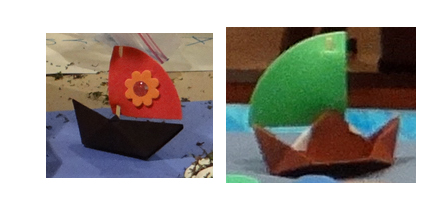
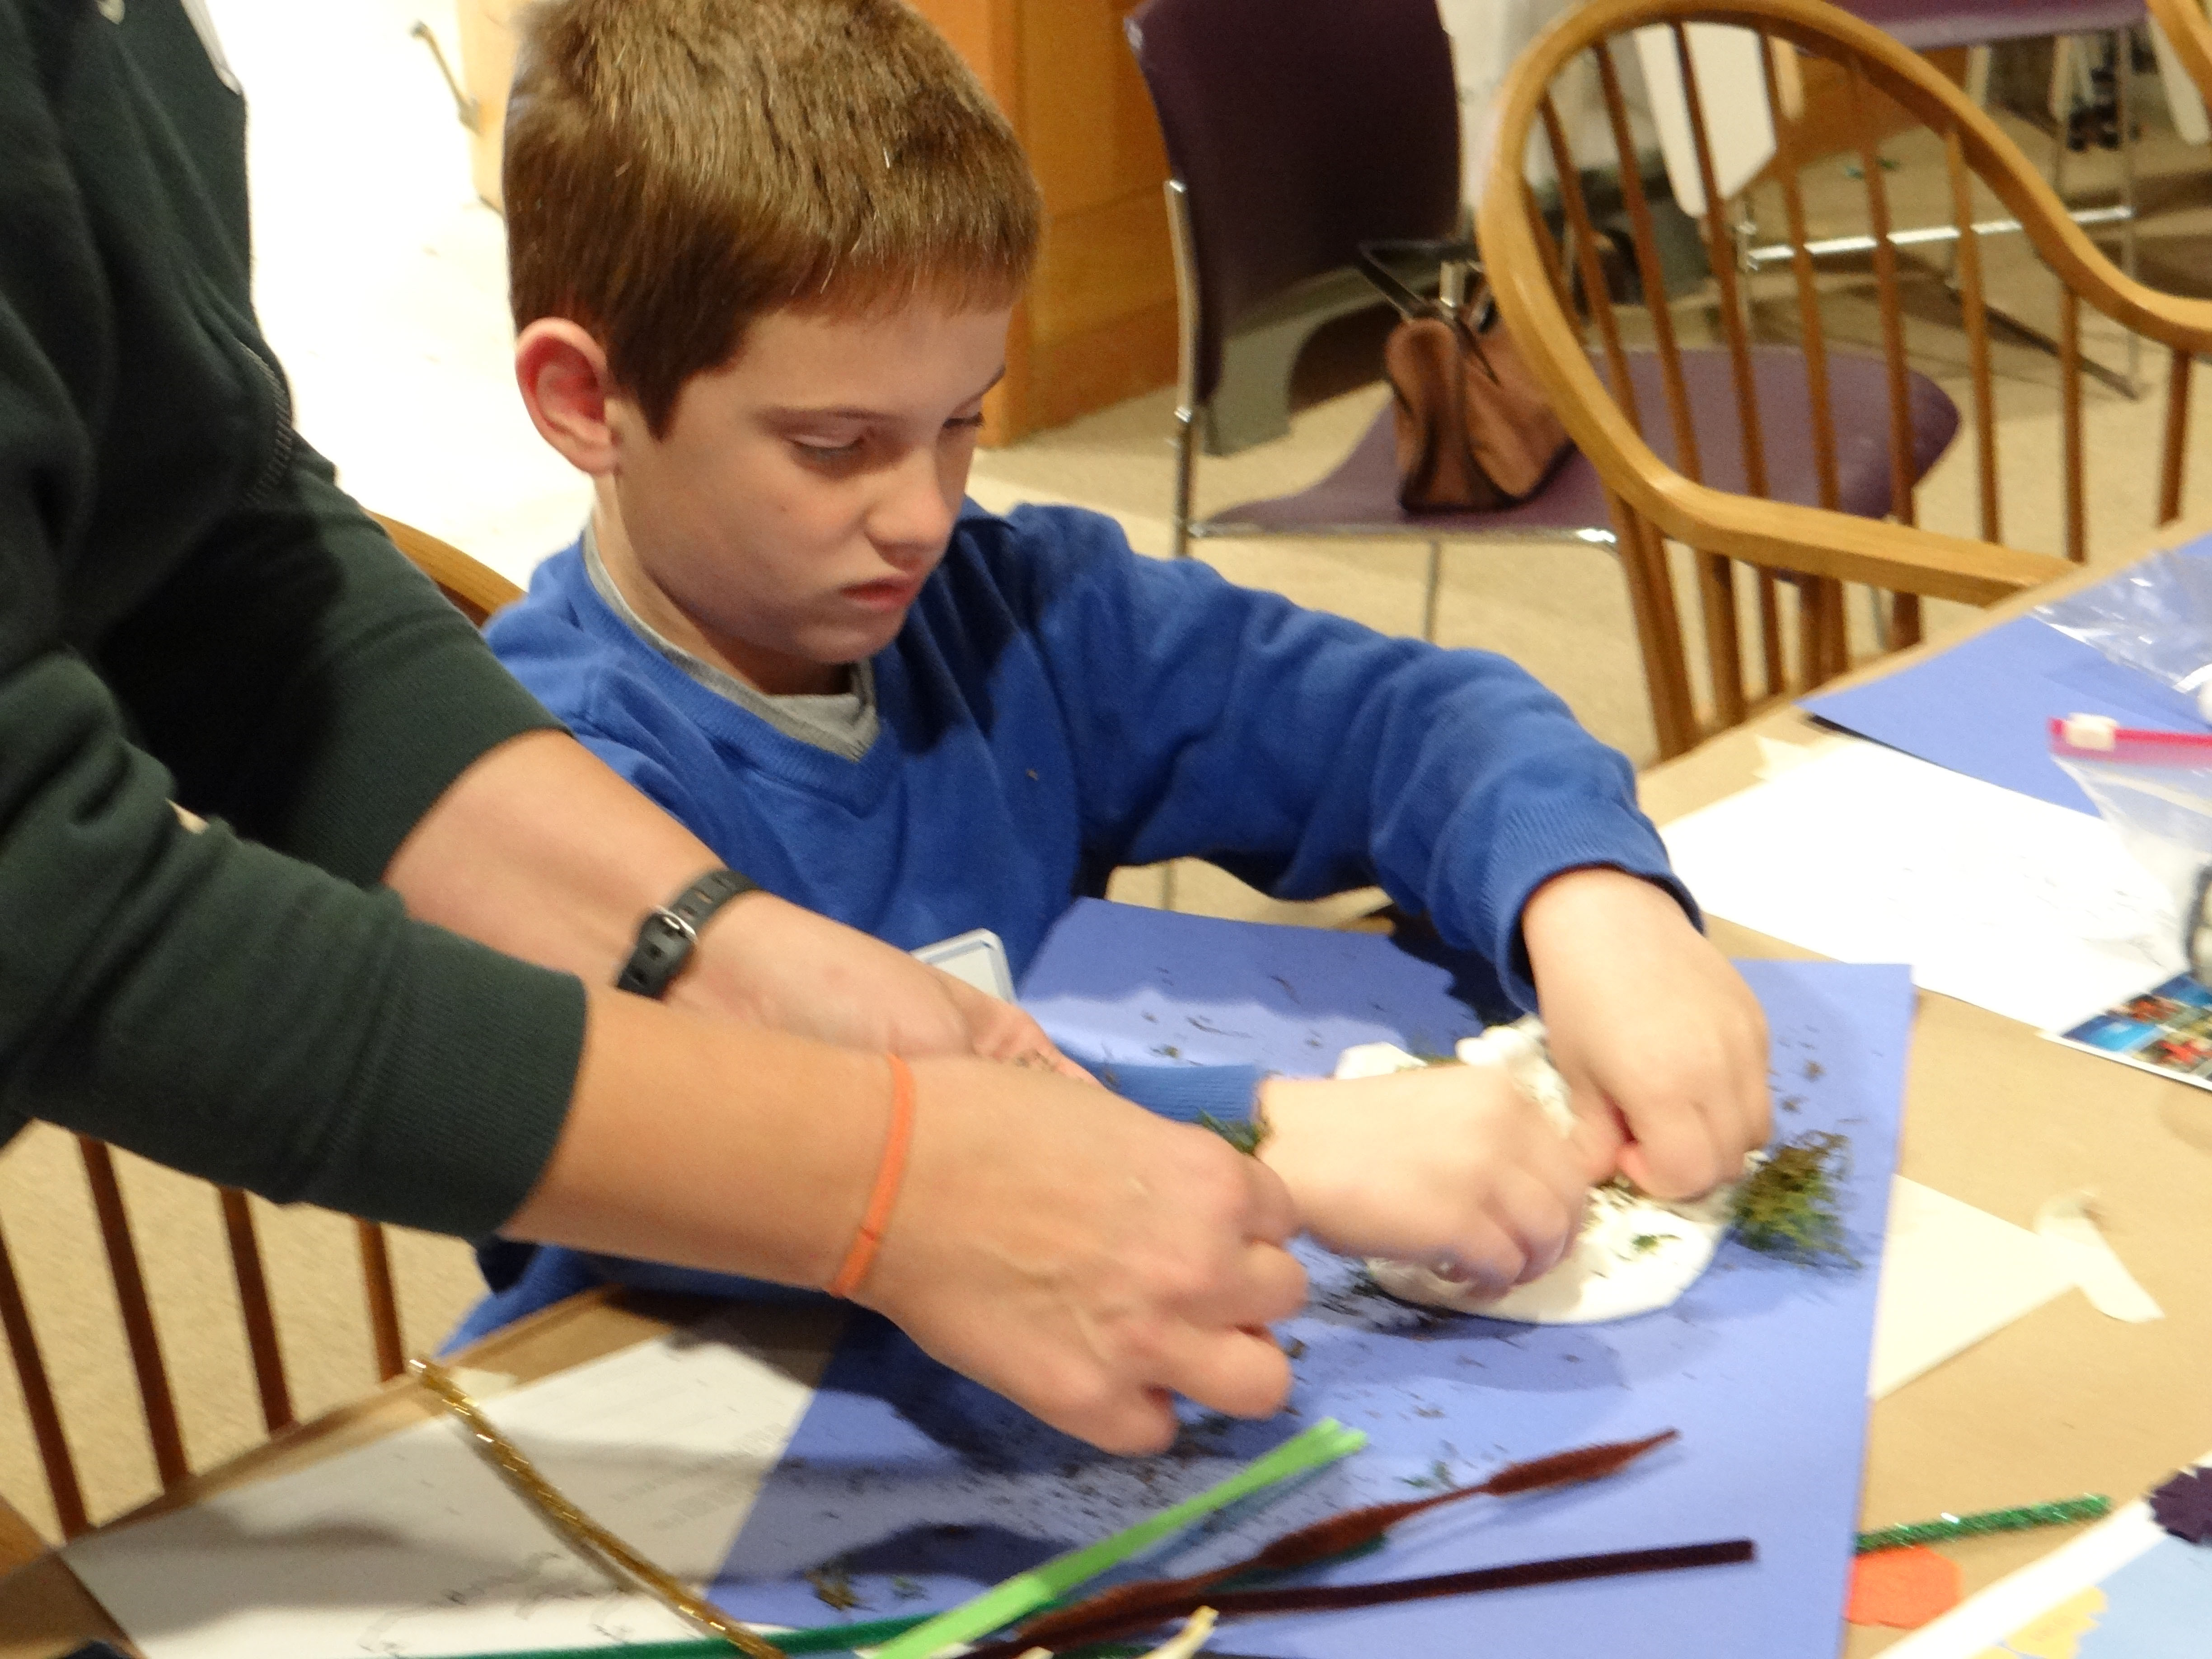
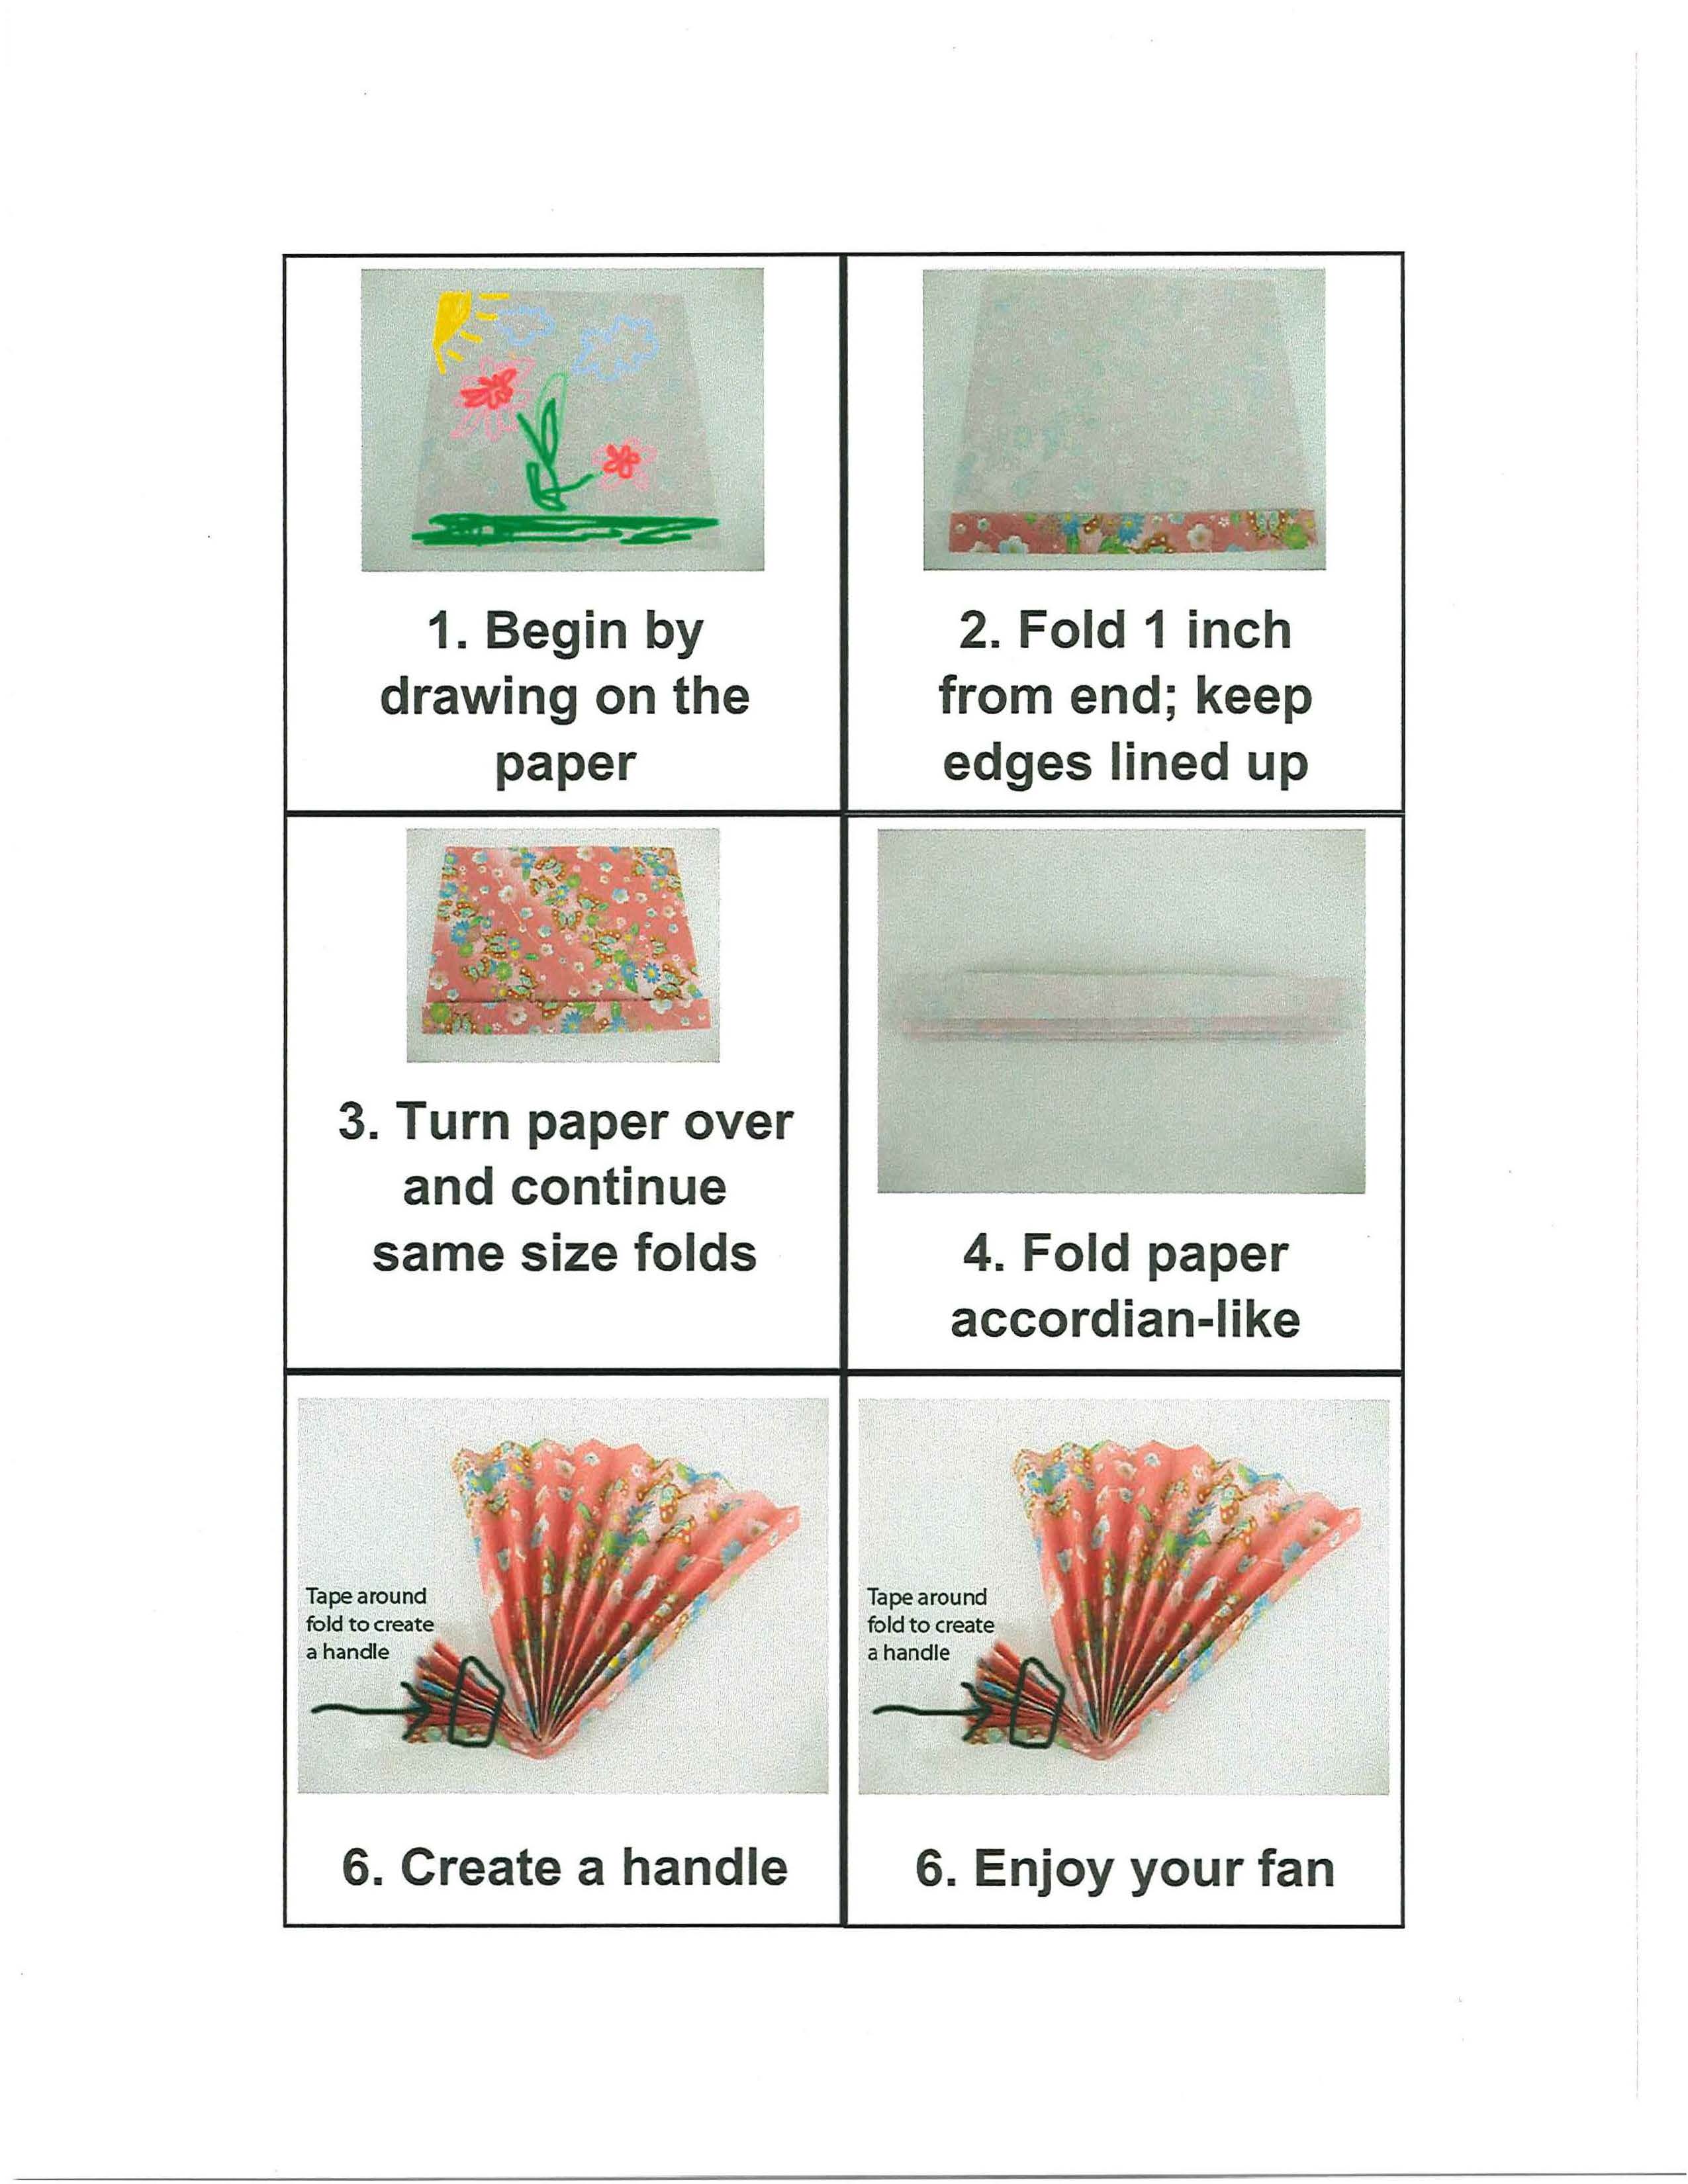
Using soap and a small carving tool (we used plastic knives) we created our own small sculptures. These sheets were helpful in thinking about shape and form with the Hepworth sculptures. Here’s a step by step guide on how we made our soap carvings:

Made with mrs.riley.com

Participants had the opportunity to share their final sculpture with the rest of the class.

Be sure to pre-register (for free) for our November 16th Exploring Artism program from 10:30-noon. Email the YCBA Education Department or call 203.432.2858 and leave a message. We look forward to seeing you and your family there!

Fall Leaves!

kokokoKids blog
kokokoKids blog

The leaves are falling from the trees and with them marks our entrance into fall! What are some things that you typically do with your leaves? Have you ever thought of using them to create an artwork? Taking inspiration from the collages above and the collages found on this blog (KoKoKo Kids Leaf Project) come up with some of your own leaf creatures. Can you recreate any of these paintings out of leaves?

Brown and White Norfolk or Water Spaniel, George Stubbs, 1778
Greenland Falcon, George Stubbs, 1780
A Lion Attacking a Stag, George Stubbs, 1765-66
Bulls Fighting, George Stubbs, 1876

This project idea comes from the KoKoKoKids Blog found here.

Balance and Repeitition in Sculpture

Last year a special exhibition at the YCBA showcased the British sculptor Anthony Caro. With Caro’s pieces at the YCBA, the Exploring Artism program took a look at some of his pieces to spark discussion.

We began our session talking about Balance and Repetition: What is balance? What is repetition? Can you give an example of each?

We also talked about shapes, forms, and lines in our warm up discussion. Looking at a sheet on Shape and Form and a sheet on Types of Line, we were able to better understand how a sculptor thinks about his/her materials. How do these elements work together to create a sculpture? We went into the gallery to look at a Caro, but you can see the piece here.

This piece is called Table Piece XCVII by Anthony Caro. Looking at the artwork, what do we see? What shapes are within the sculpture? What colors? If this artwork were to make a sound, what do you suppose that sound would be? Participants each had a chance to share their sound with the rest of the group. Does this sculpture remind you of anything? What does it remind you of? Do you see an example of balance? What about repetition?

The next piece by Caro that we looked at is called Trefoil; you can view it here. Looking at this artwork, we asked ourselves some of the same questions: What do we see? What shapes? Colors? If this artwork made a sound, what would that be? Does it remind you of anything? What about balance and repetition?

Upon leaving the gallery, participants were asked to use the Caro pieces as inspiration in making their own sculptures. The Education Department acquired special kits to make our sculptures, but you can use Tinker Toys, FiddleStix, or create your own pieces out of cardboard. Here is an example of our set: Make a Sculpture.  Remember to keep shape, form, line, and movement in mind when creating your sculpture. Participants were able to color and decorate their sculptures as well. Everyone had the opportunity to share their final artwork with the rest of the group.

Remember that our next Exploring Artism session will be Saturday, November 16 from 10:30 to noon. Registration is free and can be made via email through the YCBA Education Department. We look forward to seeing you! 

Halloween Shadow Puppets

Image Courtesy of One Perfect Day Blog

Create your own shadow puppets and have them tell a spooky story this Halloween! Here’s how to make these creations:

You will need:

-black construction paper

-bamboo sticks/popsicle sticks/or something similar

-scissors

-tape

-flashlight

-these spooky Halloween templates:

Halloween Cat

Ghost and Bat

Pumpkin

Witch

Or check out One Perfect Day Blog here to see other Halloween images.

To make these shadow puppets, simply print off the templates (from above, or from a website of your choosing). Using these templates, trace your spooky object onto the black construction paper, then cut out the object. Using the tape, attach a bamboo stick to the black construction paper image to create your finished shadow puppet. Once you have completed all of the shadow puppets you wish to use, simply turn off the lights and use a flashlight to put on a spooky Halloween show.

Can you tell a spooky Halloween story with your shadow puppets?

Here are some British artists that used shadows to help create their story:

Scene of Three Witches from Shakespeare's Macbeth, George Cattermole, 1800 - 1868
Scene of Three Witches from Shakespeare’s Macbeth, George Cattermole, 1800 – 1868
Jonathan Wild Discovers Darrell in the Loft, Print made by George Cruikshank, 1792-1878


Mytton Hall, Francis Seymour Haden, 1818-1910

How did each artist use shadow? How did the shadow help to tell a story? What stories do you see within these paintings? Can you recreate these stories with your own shadow puppets?

Create your own shadow puppets and your own stories this Halloween!


The Island of Barbados

Our Exploring Artism class last weekend was a huge success! We welcomed several new participants to the program with an exciting look at the Island of Barbados.

We began our session with a warm up activity that asked us to think about islands. What are some things that we see on an island? Do you know where the island of Barbados is? Can you find it on a map? After looking at the island of Barbados on a piece of paper and from a picture, we walked to the galleries to view the island on canvas.

Isaac Sailmaker, ca. 1633-1721. The Island of Barbados. 1694.

Sitting in front of this large painting of Barbados, participants were asked to talk about what they see in the painting. What are the shapes, colors, and objects the artist used in his painting?

Everyone used their pointer finger to follow the shoreline of the island: Next, everyone received a blue foam sheet, and a packet with smaller foam shapes. Using these handout sheets on How To Make an Island and How To Make a Sailboat, participants were able to create their own island using the Barbados painting as inspiration.

Making islands in the gallery

If you would like to know how the Education Department made the paper sailboats, here are the directions.

Boats made with folded paper, foam sails, and a toothpick.

Once our foam compositions were complete, we discussed the artistic decisions we made when creating our own island. Everyone placed their island in front of the Barbados painting to see how our own works matched up to the painting by Isaac Sailmaker.

Our islands below the painting in the galleries.


Since we knew exactly what it takes to make a great island, we moved out of the galleries to make a 3-D sculpture of our own island using Model Magic, moss, pipe cleaners, rocks, and small sea creatures.

Here are some of the amazing islands that were created:

Jiaqi helps Albert with his island
Ewan begins constructing his island
Ashley with her finished product: "Beauty Island"
Ashley with her finished product: “Beauty Island”

Andrew with his island: “Slender Island”

Everyone had the opportunity to share their finished island with the group.

Spooky Q-Tip Skeletons

Courtesy of http://www.flickr.com/photos/42663154@N05/6221653674/
Courtesy of Bee In Our Bonnet Blog

Ready to make some more spooky Halloween artworks?

To make this skeleton you need:

-Black Paper

-Q-Tips

-Glue

-Skeleton Head Printouts (here)

Just add glue to each end of the Q-tip and start constructing your spooky skeleton. (This craft idea comes from the Bee In Our Bonnet blog).

Think about how artists use the idea of the skeleton to create their artworks. Here is a skeletal drawing done by the British artist, George Stubbs:

George Stubbs. Human Skeleton, Lateral View Seen From the Left, Running (Finished Study for Table III).

Stubbs also did skeleton drawings of animals:

George Stubbs. Tiger Skeleton, Lateral View (Finished Study for Table IV).
George Stubbs. Fowl Skeleton, Lateral View (Finished Study for Table V).

We can ask ourselves: Why do you suppose Stubbs created these skeletal drawings? How would it benefit his paintings?

Can you create a Q-tip skeleton of a tiger? What about a bird?

Maybe you can try using your Q-tip skeleton to create an actual painting or drawing, just like George Stubbs:

George Stubbs. Tiger Body, Lateral View.
Print made by George Stubbs. A Tiger and a Sleeping Leopard. 1788.

Create a Q-Tip skeleton of your own and then try making a drawing or painting from your skeleton! Send in a picture of your with your artworks and we will post it to our blog.

Animals in Art

George Stubbs. Zebra. 1763.

Where does one go to see animals? A zoo? Would you go to a museum to see an animal? Do you think the Yale Center for British Art has any animals wandering around? These are just a few of the questions asked during an Exploring Artism session last winter. Participants quickly discovered that the YCBA has a vast collection of exotic animals, they just aren’t quite as smelly or noisy as the animals at the zoo. We went into the galleries to take a look at some of these animals.

Using these flashcards of a falcon, a dog, and a zebra, we looked at three paintings by George Stubbs: Zebra (pictured above), Greenland Falcon, and Water Spaniel.

George Stubbs. Greenland Falcon. 1780.
George Stubbs. Water Spaniel. 1769.

Participants were asked to match the flashcard with its corresponding painting. In comparing the actual picture of each animal to the painting, we were able to start a discussion about each work of art. Here are some of the questions we can ask when comparing the picture and painting: Are both dogs in the same place? Can you tell if it is inside or outside? How do you know this? Are both zebras in the same place? How do you know? Are both falcons in the same place? How do you know?

Next we talked about the sounds that each creature makes. If each artwork made a sound, what would it sound like? We used our iPads in the gallery to play a sound from each animal. Here are some animal sounds:

Zebras Calling

Falcon Sounds

Barking Water Spaniel

What if you could pet or touch this animal? What do you think it would feel like? Do you think this animal would smell?

Next, we compared the different animals. Do all of these animals walk the same way? Using this skeleton reference sheet might help with the comparisons. Do they make the same sounds? We referenced the actual sounds being played on the iPad to help answer this question. Do these animals have any similarities, anything the same? What are these similarities? What are the differences?

Keeping these differences in mind, we left the galleries and began creating our own 3-D animals using Model Magic Clay. Participants were able to use these outline sheets of a zebra and a water spaniel to help them with their creation. After the 3-D creations were done, participants were able to sketch their animal onto a piece of paper, similar to the artist’s process of looking at the animal and drawing it. Everyone had the opportunity to share their 3-D animal sculpture and drawing on paper with the group.

Join us tomorrow, Saturday, October 19 for our Exploring Artism program from 10:30- noon. We will be discussing the island of Barbados and each participant will get to create their own “island.” Pre-register by 3PM today, October 18 via the email for the YCBA Education Department.

Halloween Crafts!

Picture from http://www.kinderart.com/drawing/cresist.shtml
Picture from www.kinderart.com

You can use crayons and black paint to make spooky crayon resist pictures. We used Jack-O-Lanterns as our theme but you can use any image you wish. Check out the KinderArt website here for more fun ideas. 

What You Need:

  • Crayons
  • Paper
  • Black tempera paint (watered down)
  • Paint brush

What You Do:

1. Draw a design or picture with crayons. Light colors work the best.

2. Make sure to press hard with the crayons so they show up under the paint.

3. When you finish your drawing, lightly brush black paint over the picture.

4.The areas of crayon will resist the black paint. 

Create your own Jack-O-Lantern or other spooky creation!

Email us a picture of you with your creation via our email at the YCBA Education Department and we will post it to our blog.

Edwardian Feathers and Fans

Last March, our Exploring Artism group looked at Edwardian beach portraits and talked about how to keep cool in the hot weather. We even made our own “ostrich” feather fans to take home and use!

We began our session by talking about what we do to keep warm when the weather is cold and what we do to keep cool when the weather is hot. Here is our prompt worksheet. What are some things that we can do? When the weather is cold, we can wear jackets, hats, mittens, and other clothes or sit by a fire or heater. When the weather is hot, we can wear sunglasses, swimsuits, and sit in front of a fan. Next, we moved into the galleries to see how artists depict ways to “keep cool.”

First we looked at two paintings by Laura Knight: Boys (Newlyn, Cornwall) and Flying the Kite. Looking at the two paintings, we talked about what the children are doing in each scene. We compared the various ways that the children are keeping cool: in Boys, the children have taken off a lot of their clothing and they seem to have been swimming in the lake in the background. In Flying a Kite, several children lie in the shade of a tree while others stand in the wind. Notice the clothing, the action, and the setting of each painting and how that contributes to our sense of the weather.

Next we asked ourselves: What if you were inside a building and wanted to keep cool? We moved to another piece of work in the Edwardian Collection to help us answer this question: Mrs. James De Rothschild’s Ostrich Feather Fan.

Unknown maker, probably English, Mrs. James de Rothschild's Ostrich Feather Fan, 1912–13, ostrich feathers, blond tortoiseshell, platinum, and diamonds, Waddesdon, The Rothschild Collection (Rothschild Family Trust)
Unknown maker, probably English, Mrs. James de Rothschild’s Ostrich Feather Fan, 1912–13, ostrich feathers, blond tortoiseshell, platinum, and diamonds, Waddesdon, The Rothschild Collection (Rothschild Family Trust)

Participants were asked to describe the fan: What do you see? What do you think it’s made of? Do you think it is heavy or light? How do you think it was made? We looked at other examples of fans (found here) and also talked about the ostrich (see here) to try to understand how it was made. Next, we left the galleries to go make our own fans to keep cool.

Participants had the option of making a paddle fan or a folded fan.

To make the paddle fan: Select a piece of stiff card stock (a good size is about 5 by 5 inches) and round the edges. Glue a large Popsicle stick to one side to make the handle. Flip the card stock piece over and glue another stick parallel to the first. Feel free to add an extra stick as a brace. Decorate your fan however you would like: markers, paint, feathers, etc.

mrsriley.com
Graphic made using www.mrsriley.com

To make a folded fan: fold a rectangular piece of card stock back and forth in an accordion fold. Each fold should be about one inch in length, and the folds should all be even (line up top and bottom of both edges of paper). Then attach duct tape around the bottom to create a handle.

Optional: Hole punch the end below the duct tape and loop a ribbon through to hang it from your wrist or belt.

www.mrsriley.com
Graphic made using www.mrsriley.com

Everyone had the opportunity to share the fans that they created!

Join us for our next Exploring Artism program at the Yale Center for British Art on October 19th from 10:30 to noon. The program is free; pre-registration required. Please contact the YCBA Education Department (203 432 2858) for registration. Hope to see you then!