Coins and Medallions!
This past Saturday, our Exploring Artism participants were able to take a look at some of the intricate coins and medallions from Hong Kong, Canada, Jamaica and India in our Sculpture Victorious exhibition.
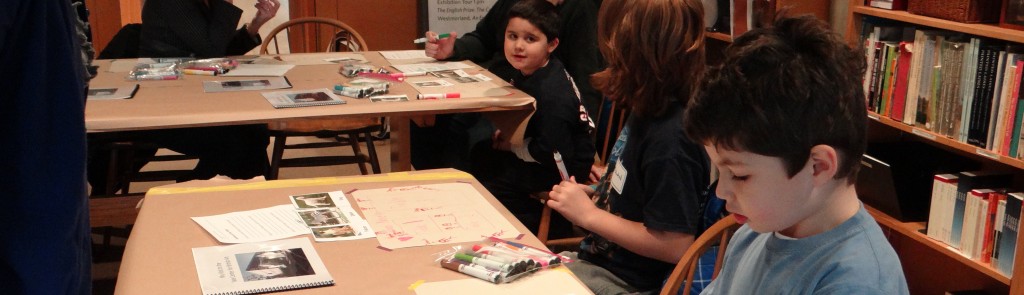
We started our morning with thinking about what we keep in our pockets and purses? What do we use today that was also used a long time ago? Money? Coins? We then reviewed different parts of a coin using this warm-up worksheet. After learning about the different parts of a coin, we were then able to design our own coin using this template.

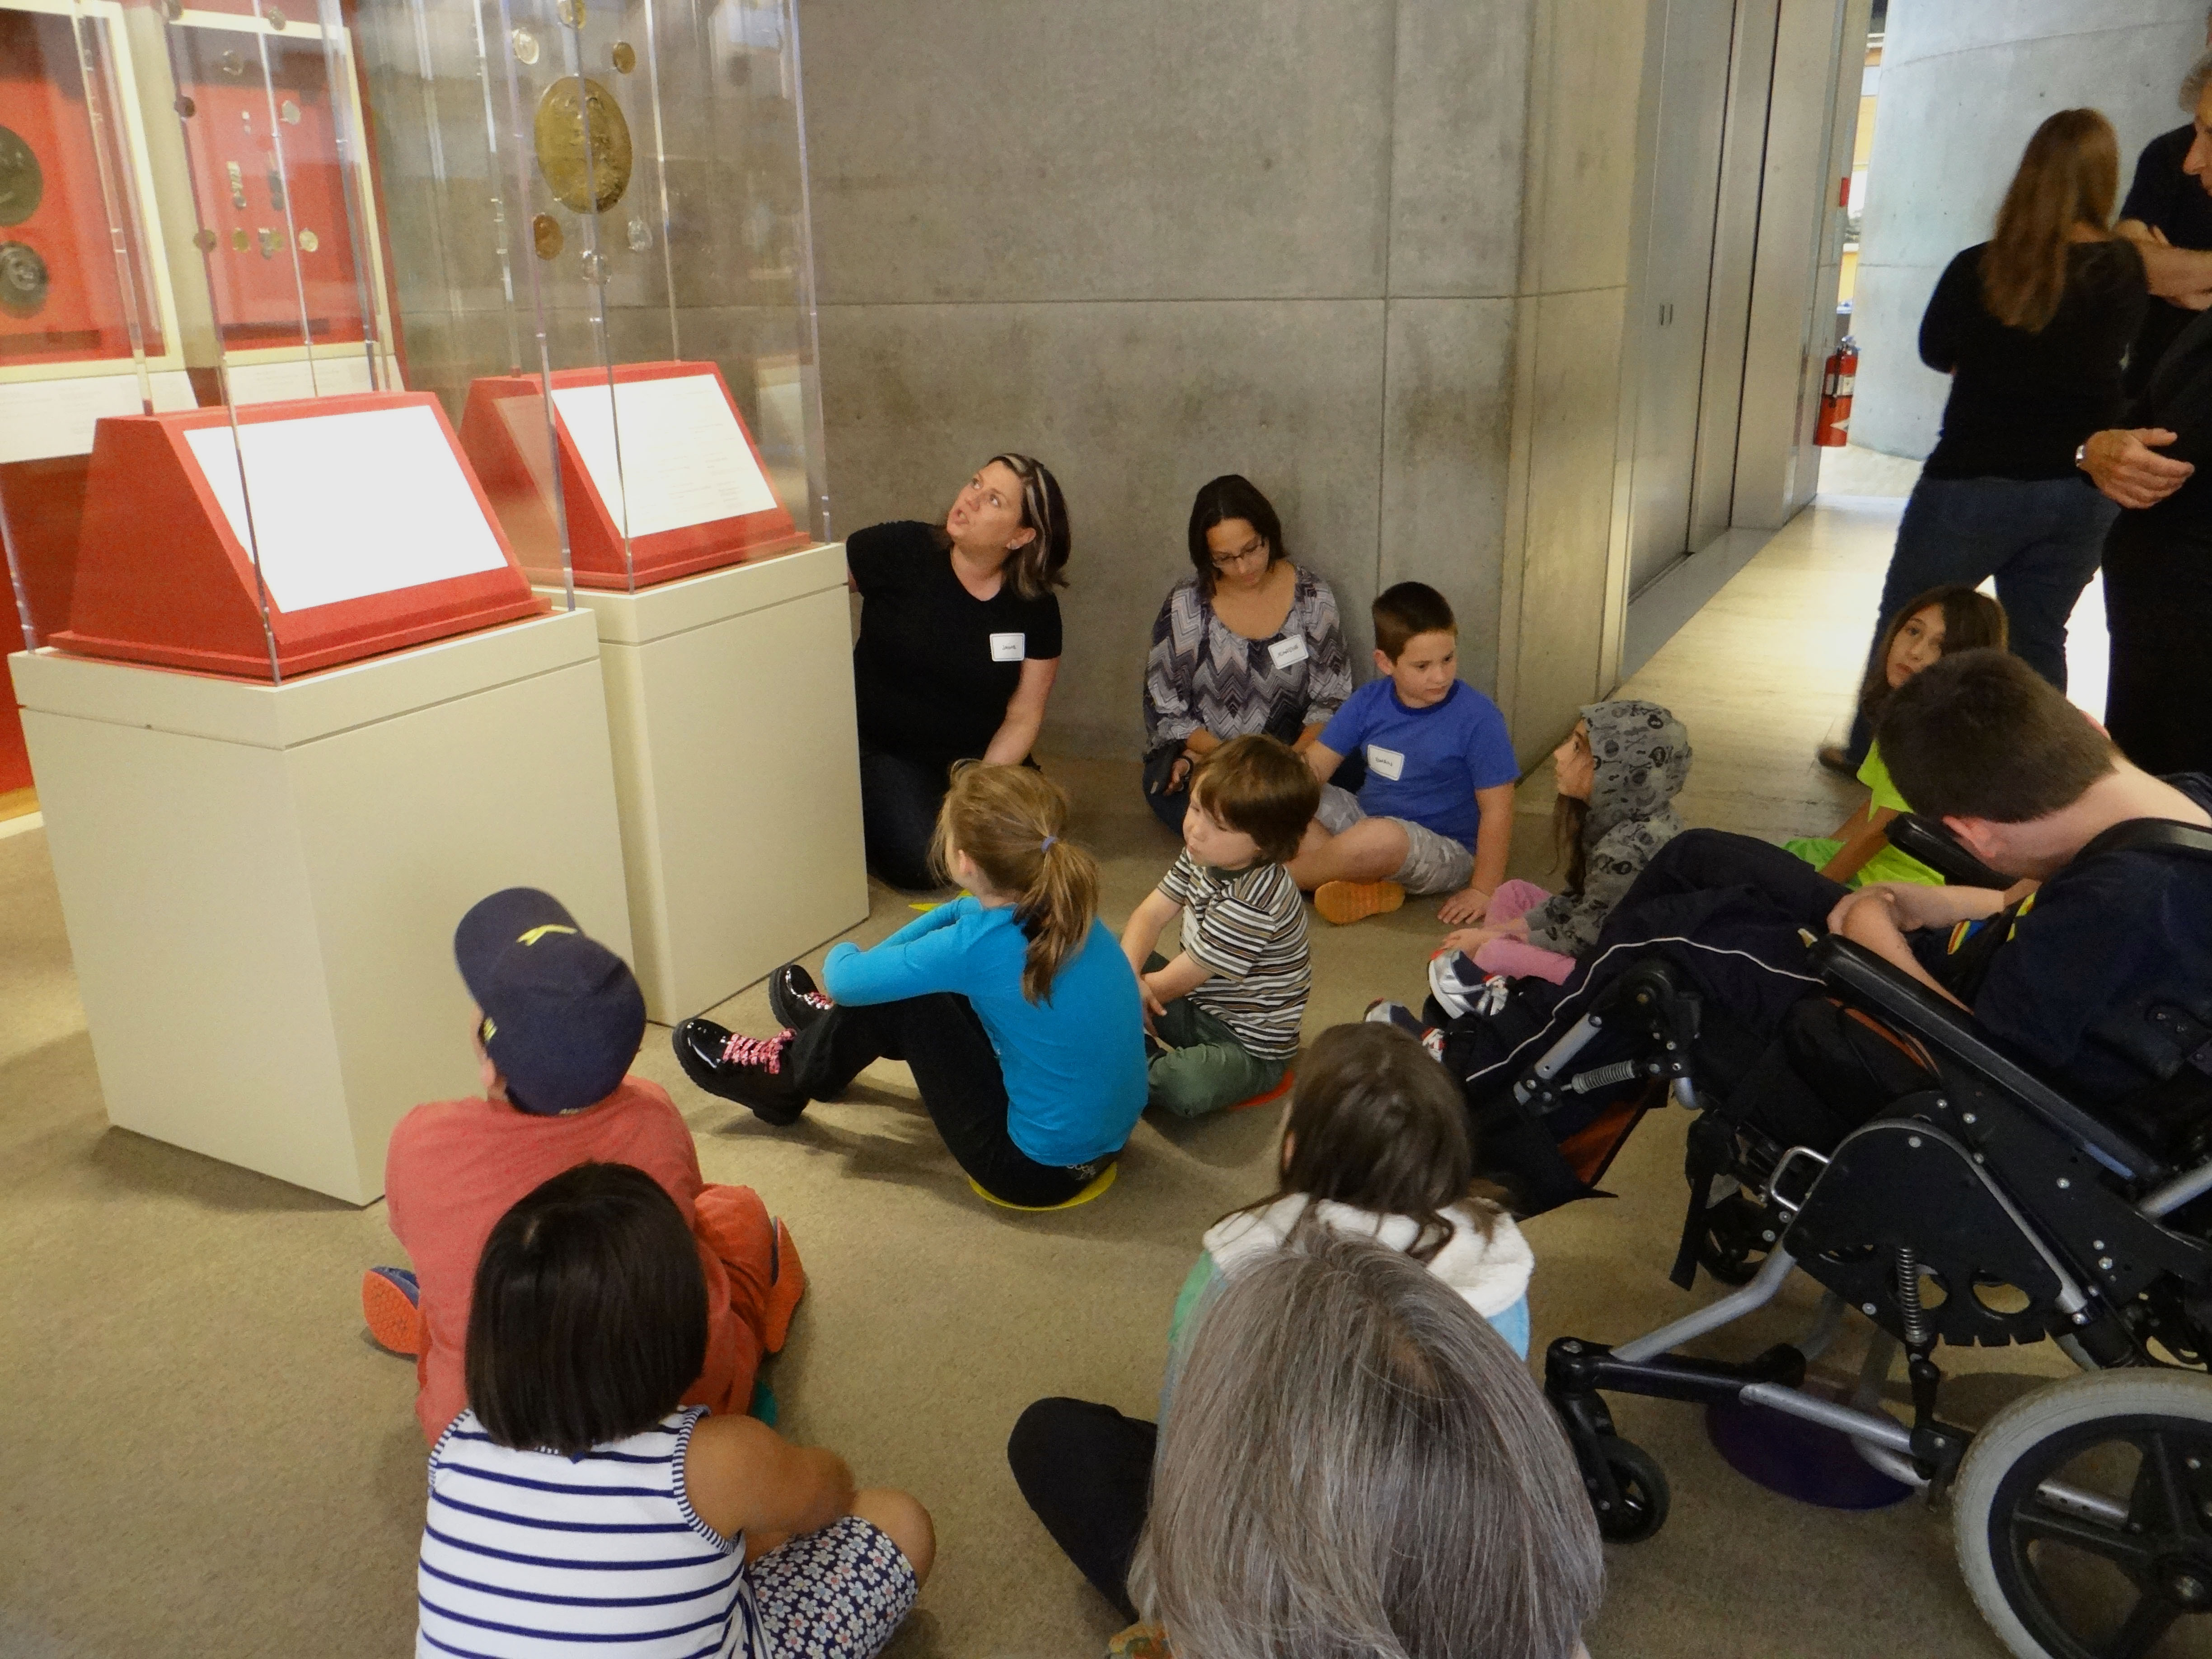
Next, we moved into the galleries to look at some of the coins and medallions in the Sculpture Victorious exhibition. Here are some examples of the coins we looked at:

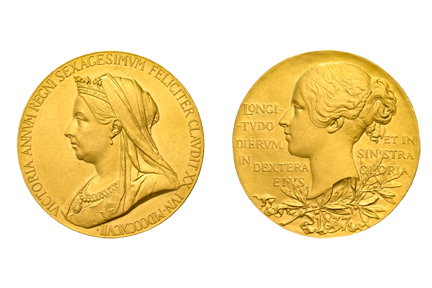
After looking at the different coins presented, participants were asked to describe what they saw. What colors are on the coins? How many colors? What are they made of? How do you think the artist made this? Why did they choose the images that they did? Why is there commonly a portrait on each one? Are the people depicted important?
Sample coins and paper were handed out to participants, and everyone was able to draw their own coins using the Victorian coins and medallions as inspiration.
Back in the Docent Room, participants were able to use the designs they worked on in the galleries to create their own coins. Using foam printing paper, pencils, Model Magic Clay, metallic paint, brushes, and rolling pins for pressing the design, we were able to make our own coins. First, participants drew two designs (one for the obverse and one for the reverse side of the coin); it is important to stress simple lines and shape within the coin design. Also note that any text are numbers must be drawn in reverse.
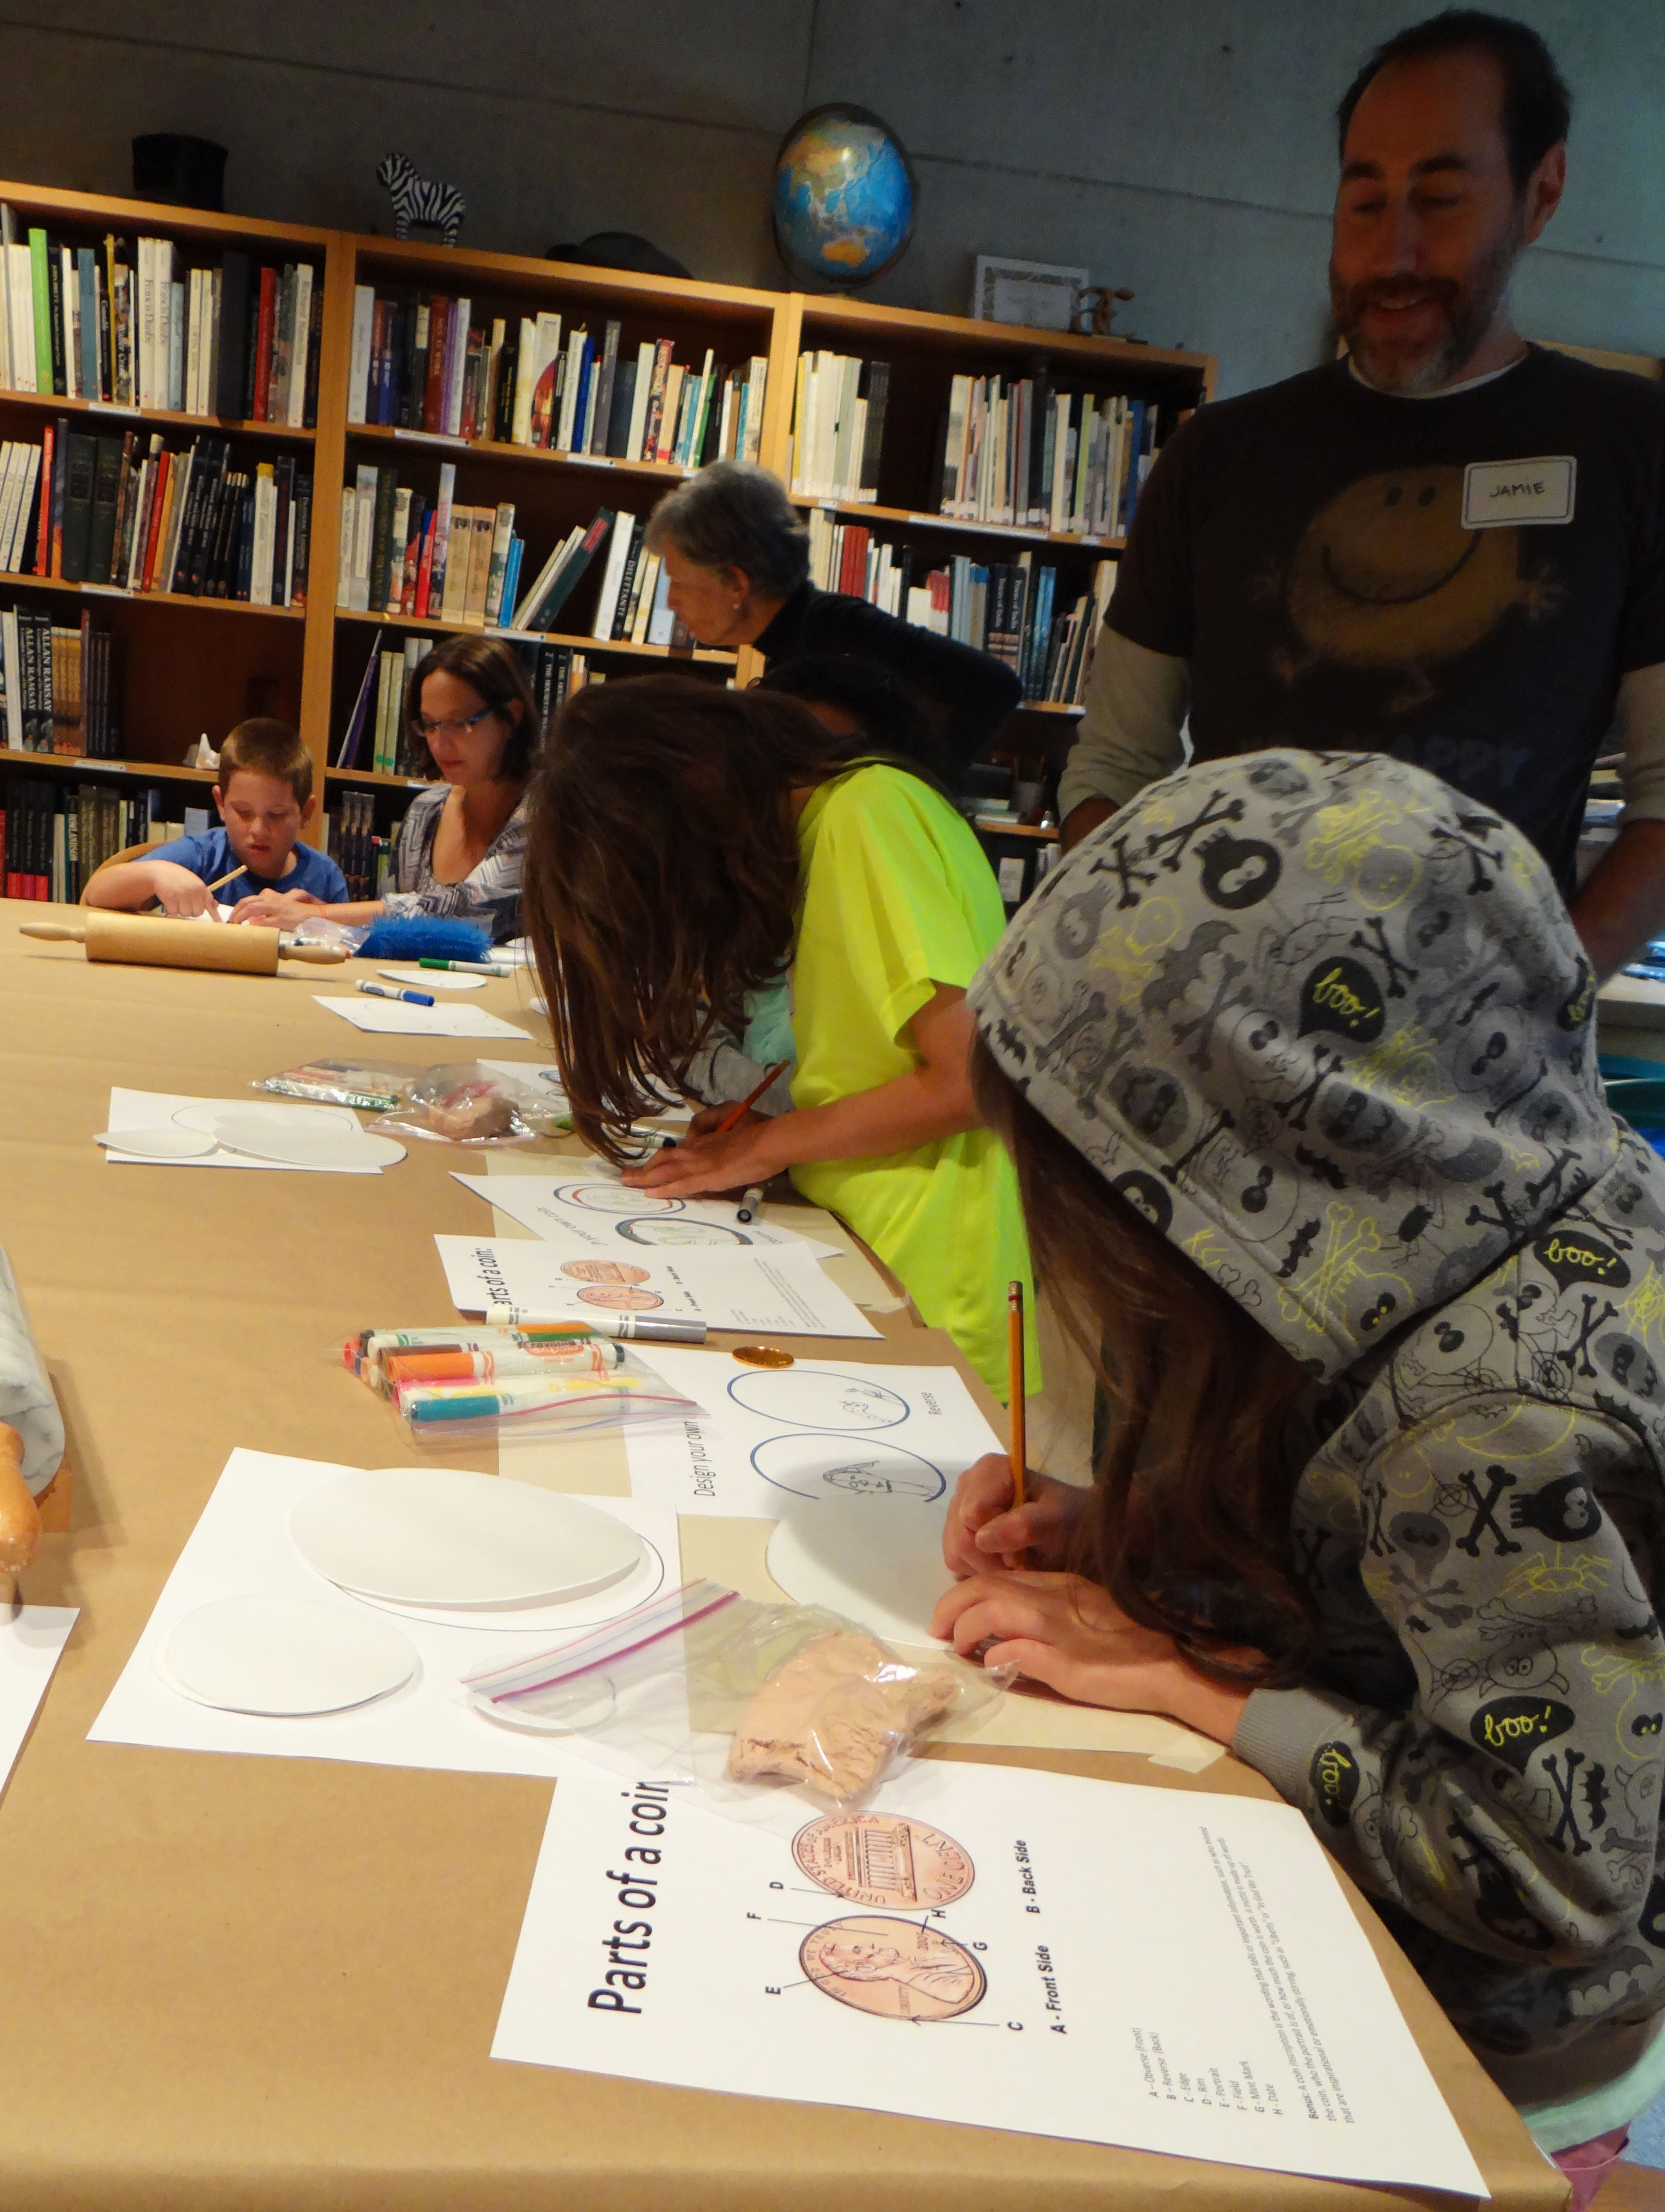
Next, we taped this design to the foam printing paper; participants were then able to re-trace the design, pressing down and imprinting the foam sheet. After making sure that the imprints into the foam were deep enough, participants then pressed the Model Magic clay into the imprint, making sure the clay covered the entire circle. Next, we placed the second foam design over the top, lined up the edges, and used tape to secure both foam pieces together and finally applied pressure through a rolling pin or heavy book. After a few moments of pressure, the foam was pulled away and the excess clay was cut away with a scissors. Participants had the option of various metallic paints to add finishing decorations to their coins.

Everyone had the opportunity to share their coin with the rest of the group.