
A British Dress Code: Ruffs and Cuffs
On a chilly Saturday last February, our Exploring Artism program dove into the world of 18th century fashion. By looking at some of the many British portrait paintings we have in the galleries, participants were able to see how clothing provides more than just protection from the elements; it helps us to fit in and encourages us to follow trends and boosts are self-image and confidence.
For our warm-up activity, we talked about how clothing can have meaning and what that meaning is. Looking at our own clothing, we can ask ourselves: Why do we wear clothes? Do we have clothes for certain activities? Some examples might be wearing athletic clothing when you are in gym class or wearing an apron when you are painting or cooking. Participants then proceeded to name the different clothes that we wear: shirt, sweater, pants, dresses, shorts, socks, shoes, etc. Next, we talked about “dress codes” and where and why we hear about dress codes. Some schools require that all of their students wear similar outfits, and most sports teams wear the same outfits when they are playing. It isn’t difficult to think of examples of when there is a dress code.
At the YCBA, we have a special prop a painting of Lady Clopton. Here is the actual painting of Lady Clopton from the YCBA:

The Education Department has a prop with a circle cut out of the painting so that Exploring Artism participants may put themselves into the painting and “become” Lady Clopton. A volunteer posed in the cut-out Portrait of a Woman, Mary Clopton. We discussed how the outfit of Lady Clopton changes how we think about them and why. We also talked about whether or not Lady Clopton would be able to put this outfit on by herself; the group concluded that she would probably need some help getting into this dress.
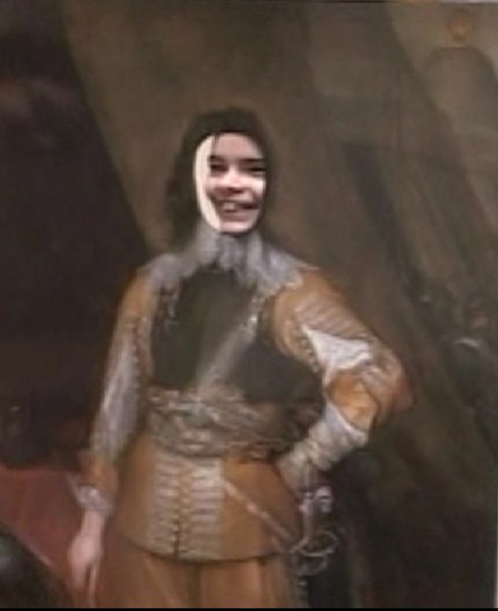
After looking at (and through) the Lady Clopton prop, we moved into the galleries and looked at the portrait of Mountjoy Blount, Earl of Newport.

Sitting in front of the portrait, we began to describe his clothing. Some questions we might ask ourselves are: Do we wear any of the same things? Why or why not? What is different about his clothing? Why do you think that? Everyone had the opportunity to share what they thought was strange about his outfit and why they thought that.
Next, everyone stood up and attempted to stand like Mountjoy. The Earl of Newport would have had to stand like this for a long time for the artist to paint it: how long do you think he stood like this? We all discovered that it would have been very difficult to stand in this position for a long time.
Finally, we talked about what Mountjoy’s clothing tells us about him: Is he rich or poor? Is he confident or shy? What do the ruffs and cuffs tell us about him? When asked if they thought Mountjoy dressed himself, everyone agreed that he probably had help. We learned that he had a helper called a “dresser.” Many people hadn’t heard of that word before; a dresser is someone who helps another person put on their clothes. If we look at Lady Clopton, Mountjoy, and other fashions of the 18th century, we can understand why they would have needed assistance in getting dressed. Here are some common styles of the 18th century.
We even had a cutout of Mountjoy that everyone was able to peer out of:
Making the Ruffs and Cuffs:
Using large coffee filters, we cut out the centers of the filters and added holes (using a hole punch). For the cuffs: Measure wearer’s wrist, add two inches, and punch evenly spaced holes about 1/2 inch from the edge. Run two pipe cleaners through each hole. Add more filters for density of ruff.
For ruffs (collars): measure wearer’s neck, add two inches, and cut two-inch-wide ribbon to that measurement. Punch holes in filters (2-4 filters depending on size desired). Run ribbon through holes and tighten as necessary around wearer’s neck.
For a shirt jabot: Turn 10-12 small filters inside out, fold in half, and trim off corners (throughout project you can cut 5-6 filters at a time). Weave together pipe cleaners or ribbon to desired length. Safety pin ribbon to center front of shirt.
Everyone was able to show off their fabulous new outfits at the end of our session.

Such a great family program! It’s a nice change to see a museum doing hands-on work in the gallery space!